
Leather Seat Restoration Tips & Tricks
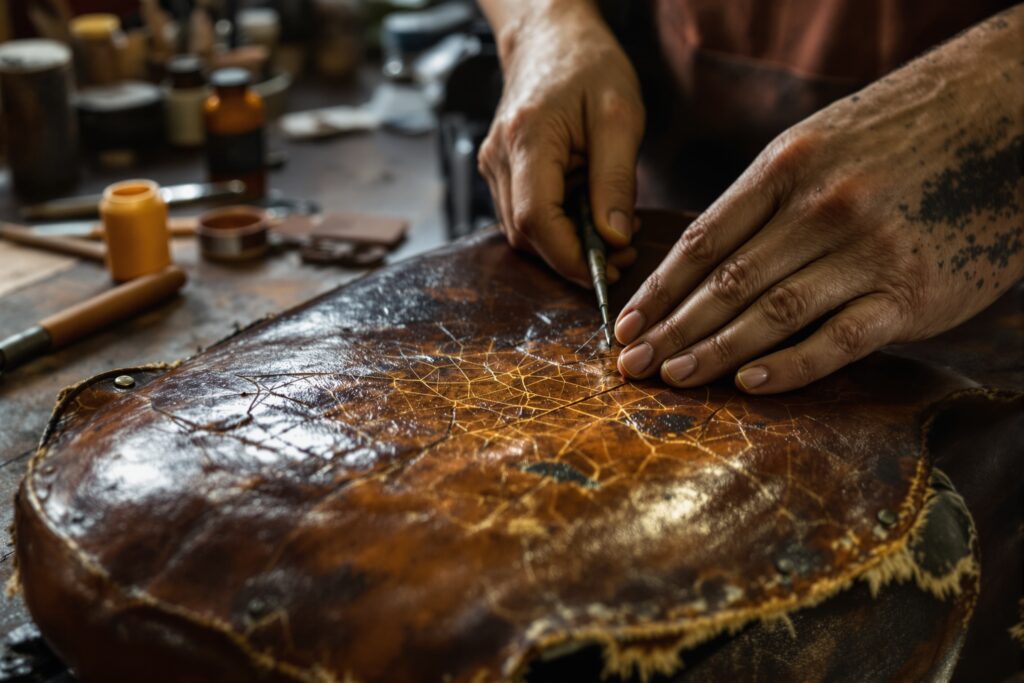
Restoring a vintage motorcycle is not just about engines and chrome. One of the most visually striking elements of any classic bike is its leather seat. Over time, leather can dry out, crack, fade, and lose its character—but with the right approach, you can bring it back to life without losing its authentic patina.
This guide walks you through practical leather seat restoration tips and tricks that balance preservation with improvement, helping you maintain both comfort and originality.
Understanding the Condition of Your Seat
Before you reach for any products, take a close look at the leather. Not all seats require the same level of restoration.
Ask yourself:
- Is the leather dry or brittle?
- Are there visible cracks or tears?
- Has the color faded unevenly?
- Is the stitching still intact?
Light wear often requires only cleaning and conditioning, while deeper damage may involve repairs or partial reupholstery. Knowing the starting point prevents over-restoration, which can reduce the vintage appeal.
Cleaning Without Causing Damage
The first step in any restoration process is cleaning, but leather demands a gentle approach.
Use a soft cloth or brush to remove loose dirt. Avoid harsh chemicals or household cleaners, as they can strip natural oils. Instead, opt for a dedicated leather cleaner or a mild soap solution.
Tips for safe cleaning:
- Always test on a hidden area first
- Use minimal water
- Wipe, do not soak
- Dry naturally, away from direct heat
Cleaning reveals the true condition of the leather and prepares it for further treatment.
Conditioning: Bringing Leather Back to Life
Conditioning is where the transformation begins. Old leather loses moisture over time, leading to stiffness and cracks. A high-quality leather conditioner restores flexibility and depth.
Apply conditioner sparingly and allow it to absorb fully. Multiple light applications are better than one heavy coat.
Key tricks:
- Warm the leather slightly before applying conditioner
- Use circular motions to work it in evenly
- Let it rest overnight for best results
Proper conditioning not only improves appearance but also extends the lifespan of the seat.
Dealing with Cracks and Surface Damage
Cracks are common in vintage seats, but not all of them need to be “fixed” completely. In many cases, they are part of the bike’s history.
For minor cracks:
- Use leather filler sparingly
- Blend with surrounding texture
- Avoid over-smoothing
For deeper cracks:
- Clean thoroughly
- Apply flexible filler
- Sand lightly once dry
- Recondition afterward
The goal is not to make the seat look brand new, but to stabilize the damage and improve usability.
Restoring Color the Right Way
Faded leather can make an otherwise beautiful motorcycle look tired. Recoloring can help, but it must be done carefully.
Choose a dye that matches the original tone. Avoid overly glossy finishes that look modern and out of place.
Steps to follow:
- Clean and degrease the surface
- Apply dye in thin layers
- Allow proper drying time
- Seal with a matte or satin finish
Subtlety is key. A slightly worn look often feels more authentic than a perfect factory finish.
Stitching and Structural Repairs
Even if the leather surface looks good, damaged stitching can compromise the seat’s integrity.
Inspect seams closely:
- Loose threads
- Broken stitches
- Weak tension points
Minor issues can be repaired with heavy-duty thread and a curved needle. For major damage, professional upholstery work may be necessary.
Maintaining the original stitching pattern helps preserve the vintage character of the seat.
Protecting Your Work
Once the restoration is complete, protection becomes essential. Leather is sensitive to moisture, sunlight, and temperature changes.
To keep your seat in top condition:
- Store the bike in a dry environment
- Use a breathable cover
- Avoid prolonged exposure to direct sun
- Reapply conditioner periodically
A simple maintenance routine can prevent the need for major restoration in the future.
When to Leave It Alone
One of the most overlooked tips in leather restoration is knowing when not to intervene.
A seat with natural wear, slight discoloration, and soft creases often looks better untouched than over-restored. Collectors and enthusiasts value authenticity, and sometimes less is more.
If the leather is stable and functional, consider preserving its current state rather than altering it.
Final Thoughts
Leather seat restoration is as much an art as it is a technical process. The goal is not perfection, but balance—between function and history, between repair and preservation.
With the right techniques, you can revive an old seat, improve comfort, and enhance the overall look of your motorcycle without erasing its story. Whether you are working on a full restoration project or simply refreshing a well-loved bike, attention to detail will always make the difference.
Take your time, use quality materials, and respect the character of the leather. The results will speak for themselves every time you take your motorcycle out for a ride.