
Chrome Plating: A Beginner’s Complete Guide
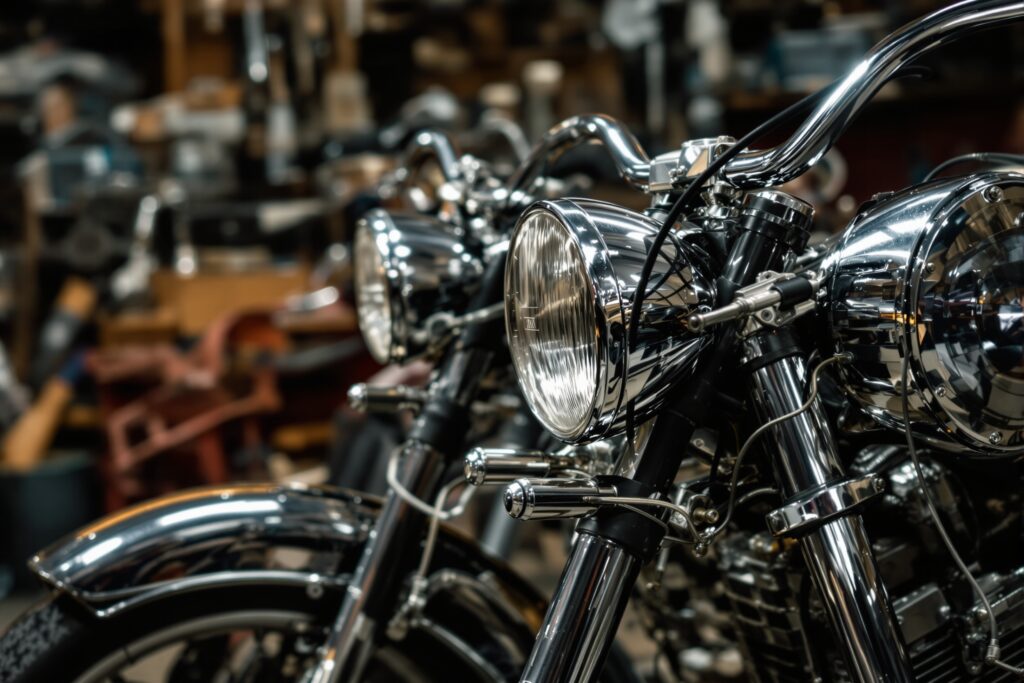
Chrome plating is one of the most iconic finishing processes in the world of vintage motorcycle restoration. That mirror-like shine seen on classic handlebars, exhaust pipes, and engine covers is not just about looks—it also provides durability, corrosion resistance, and long-term protection. For beginners, however, chrome plating can seem complex and intimidating. This guide will walk you through everything you need to know to get started.
What Is Chrome Plating?
Chrome plating is an electroplating process where a thin layer of chromium is deposited onto a metal surface. The base material is typically steel, aluminum, or brass, and the chrome layer is applied using an electrical current in a chemical bath.
There are actually multiple layers involved in high-quality chrome plating:
- Copper layer – helps smooth imperfections
- Nickel layer – provides most of the corrosion resistance
- Chrome layer – adds hardness and shine
This layered approach is especially important in vintage motorcycle restoration, where surface imperfections are common.
Why Chrome Plating Matters in Restoration
When restoring antique motorcycles, authenticity and durability are key. Chrome plating plays a major role in both.
First, it restores the original factory look. Many classic bikes from brands like Harley-Davidson or Indian relied heavily on chrome finishes. Without proper plating, a restoration can look incomplete or incorrect.
Second, chrome protects metal components from rust and wear. Vintage parts are often exposed to harsh conditions, and plating helps extend their lifespan significantly.
Finally, chrome plating increases value. A well-restored motorcycle with professionally plated components can command a much higher price in the collector market.
Types of Chrome Plating
Not all chrome plating is the same. Understanding the different types will help you choose the right process for your project.
Decorative Chrome
This is the most common type used in motorcycles. It focuses on appearance and includes multiple layers for a deep, reflective finish.
Hard Chrome
Used more in industrial applications, hard chrome is thicker and designed for durability rather than aesthetics. It is less common in restoration work.
Show Chrome (Concours Quality)
This is the highest level of plating, often used in award-winning restorations. It involves extensive polishing and multiple plating layers for a flawless mirror finish.
The Chrome Plating Process
Understanding the process helps you evaluate quality and communicate with plating professionals.
1. Cleaning and Stripping
Old coatings, rust, and contaminants are removed. This step is critical because any leftover debris will affect the final finish.
2. Surface Preparation
The metal is polished and smoothed. Imperfections are corrected at this stage, often using sanding and buffing techniques.
3. Copper Plating (Optional but Recommended)
A copper layer fills in small imperfections and provides a smooth base.
4. Nickel Plating
This layer adds corrosion resistance and contributes to the reflective quality.
5. Chrome Plating
The final thin chrome layer gives the part its signature shine and hardness.
Common Parts That Are Chrome Plated
In vintage motorcycle restoration, chrome plating is applied to many components, including:
- Handlebars
- Exhaust systems
- Engine covers
- Wheel rims
- Headlight housings
- Trim pieces and brackets
Each part may require different preparation techniques depending on its condition.
Costs and Considerations
Chrome plating is not cheap, especially when done properly. Costs can vary widely depending on:
- Size and number of parts
- Condition of the metal
- Level of finish required
- Labor involved in preparation
For beginners, it is important to budget accordingly. Cutting corners in plating often leads to poor results that will need to be redone later.
DIY vs Professional Plating
Some enthusiasts consider doing chrome plating at home. While small-scale kits exist, professional plating is almost always the better option.
DIY Pros:
- Lower upfront cost
- Good for small parts
DIY Cons:
- Limited quality
- Safety risks with chemicals
- Inconsistent results
Professional plating shops have the equipment and experience needed to achieve high-quality finishes, especially for larger or more valuable parts.
How to Choose a Plating Shop
Not all plating shops are equal. When selecting a provider, consider the following:
- Experience with vintage motorcycle parts
- Portfolio of previous work
- Clear explanation of their process
- Turnaround time
- Customer reviews
A reputable shop will be transparent about what they can achieve and how they handle different types of materials.
Maintenance After Plating
Once your parts are plated, proper care is essential to maintain their appearance.
- Clean regularly with mild soap and water
- Avoid abrasive cleaners
- Dry thoroughly to prevent water spots
- Apply protective wax if needed
With proper maintenance, chrome-plated parts can last for many years without losing their shine.
Common Mistakes Beginners Make
Many beginners encounter issues when dealing with chrome plating. Here are a few common mistakes to avoid:
- Skipping proper surface preparation
- Choosing the cheapest plating option
- Ignoring hidden rust or damage
- Expecting chrome to hide imperfections
- Not researching plating shops
Understanding these pitfalls can save time, money, and frustration.
Final Thoughts
Chrome plating is a vital part of any vintage motorcycle restoration project. While it may seem complex at first, understanding the process, options, and best practices will help you achieve outstanding results.
Whether you are restoring a single component or an entire motorcycle, investing in quality chrome plating will enhance both the appearance and longevity of your build. With the right approach, even beginners can achieve professional-level results and bring classic machines back to life.